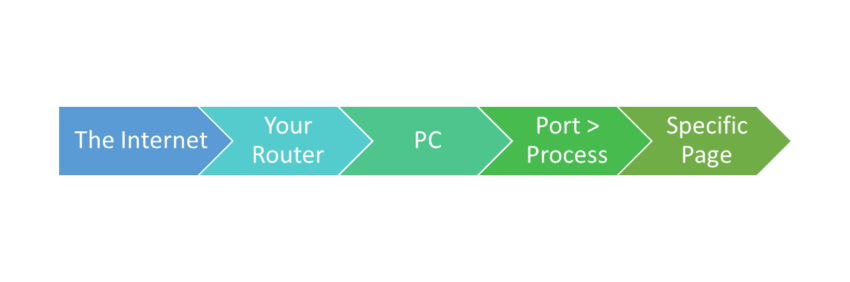
Today I learned what it takes to host a website. From the Internet – up until your PC. A simple /index.html request needs a lot of components and configuration to be done correctly.
Warning! Hosting a website in your own home is not recommended and invites various spyware and malware and basically considered a huge security risk. following this guide is at your own risk.
Well, I didn’t learn it today, this website is already hosted on an old laptop I have. But it took me a while to connect all dots. But once you do, adding additional websites or pages is a piece of cake! Before I hosted this website I created a full communication media server and drive with several components.
It will be easier to explain it from the packet view, but if you want to create one you usually start building it in the opposite order.
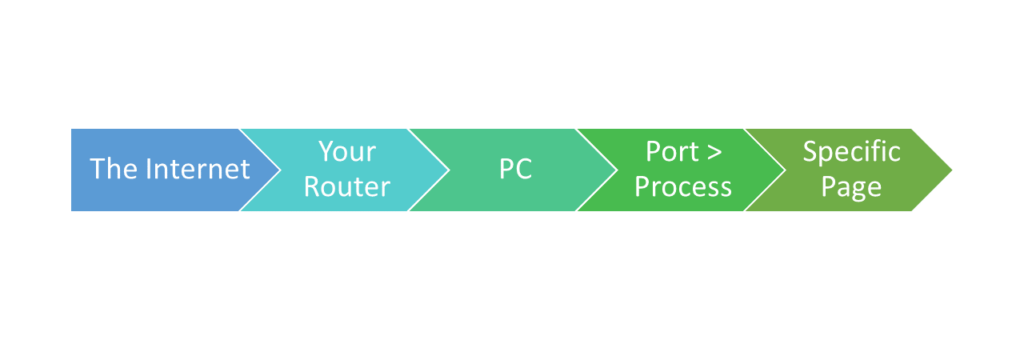
Step 1 – The Internet
What is my IP? a common question for google, and the gateway between your household to the Internet. This is the first thing a client needs to know when accessing your website. Preferably using some cool domain name (like mine- clofrose.com). There are 2 options to do the match between the name you want, and the router represented by this IP address:
- Get a free domain name and install a dynamic DNS client using NO-IP. Good for beginners.
- Buy a domain name and fixed IP (namecheap and godaddy are recommanded here)
you can, of course, mix&match and buy a domain you choose yet using a dynamic DNS client.
Step 2 Port-Forwarding
Now your router will be able to receive requests, but from its perspective, it should block all ingress content (aka requests). This is the well-known service you probably heard of- Firewall. Of course, you can (and need to) pass it by configuring port-forwarding rules. See, the router doesn’t know what specific device someone from outside is trying to reach from your internal network. Yet you should remember there can be only one per port. The default and recommended are port 80 for HTTP, and port 443 for HTTPS. Make sure to add these ports to the forwarding rules of your router.
Step 3 webserver
Now we manage to configure almost everything. The user is able to get to your server, but you need to make the match between his request, to the actual file/content one might want. This needs to be done using NGINX or Apache as a start, I’d personally recommend the Docker version of them for maximum security and ease of installation.
Don’t forget to set the ports correctly, this is what tells your OS that the packet destination is a specific program (process).
Finally
Of course that this article does not cover the whole aspect and instructions, we haven’t even deep-dived into the security concerns, to configuring HTTPS and expansion of multiple webservers on the same server. But it is a good place to start with understanding how things work. And it is important to small-home-webpages as well as to large production servers.